概述:
网上找到的一些其他的方案都是修改已生成的 Nginx 配置文件并附加自定义检测脚本,需建一个任务定期检查配置文件是否被修改,如果被还原了就用正确的配置文件覆盖系统生成的配置
原因: 群晖系统每次重启或者网站配置等发生变化,nginx 配置文件会被恢复成默认状态缺点:需要保证定时任务脚本没有问题,且都正常执行
本文方案为一劳永逸方案
前提
本文以上海联通宽带为例进行配置,其他运营商未测试,已知上海联通 80 端口被封, 443 端口未被封,如这两个端口都被封,请略过此文
群晖使用自有 Nginx (
应用程序=>反向代理服务器) 实现 https 无端口访问 DSM 及 Photo Station , 无需 Frp 等内网穿透群晖 DSM 版本需 6.0 以上才有
反向代理服务器功能已拥有 域名,本文以
nas.xxx.com为例注意 :
控制面板=>应用程序=>反向代理服务器中不要配置此域名
注意 :控制面板=>应用程序=>反向代理服务器中不要配置此域名
注意 :控制面板=>应用程序=>反向代理服务器中不要配置此域名已开启 DDNS,并已成功将域名解析到路由器
已申请 SSL 证书,并已下载 Nginx 形式的配置文件, 本文以
nas.xxx.com.crt,nas.xxx.com.key为例,DSM 已开启 root 账号权限,不开也可但是需要
sudo -i切换权限
群晖/NAS 反向代理服务器 相关配置路径
Nginx 配置模板
/usr/syno/share/nginx/
系统每次重启或网站配置发生变化重新生成的配置文件路径/etc/nginx/
配置步骤
新建一个共享目录本文目录名称为 DSM_NginxCustomConf
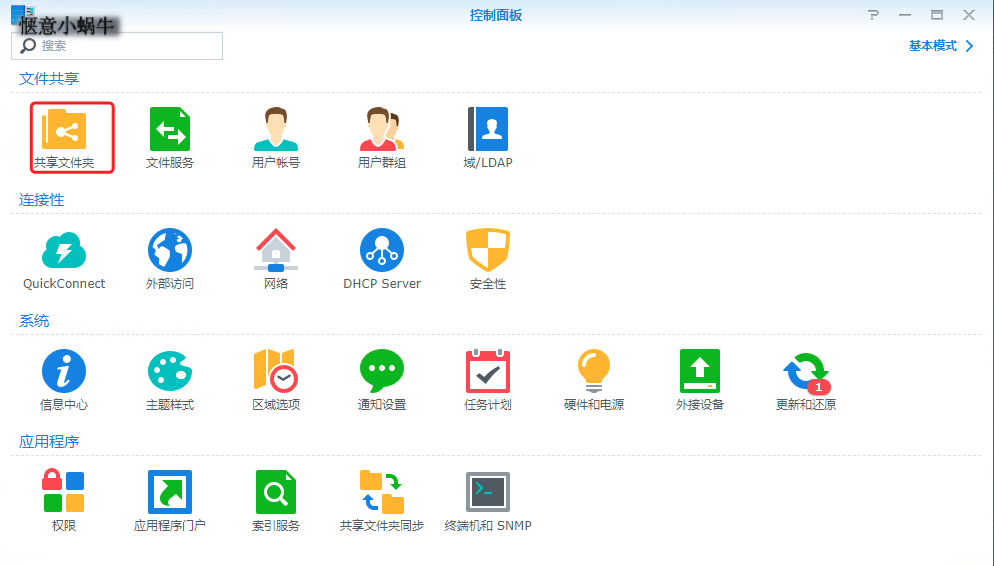
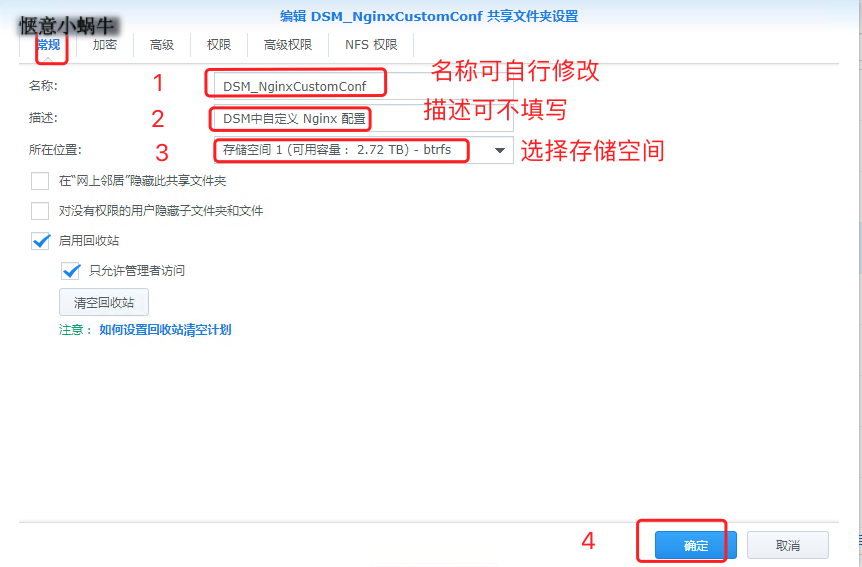
一路 “下一步” “确定”, 完成共享目录的创建
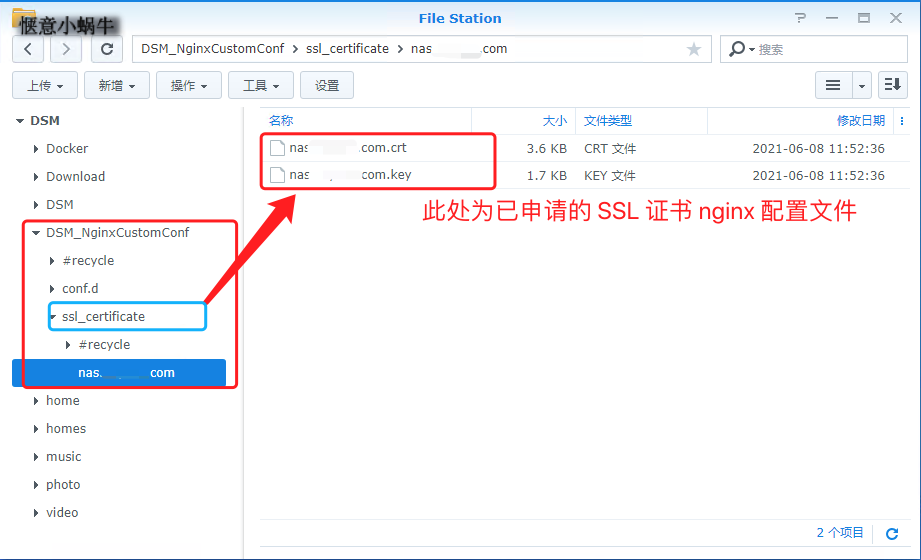
在刚刚新建的 DSM_NginxCustomConf 共享目录中新建两个目录 conf.d, ssl_certificate
conf.d : 自定义 Nginx 配置文件路径
ssl_certificate : 自定义 SSl 证书文件路径
完成后的目录结构
获取刚刚创建的存储目录全路径
- 登录 DSM SSH,进入到创建的共享目录, 输入
pwd即可得到完整路径此处为/volume1/DSM_NginxCustomConf - 说明 : 此处的
/volume1为新建共享目录时选择的存储空间决定,一般情况下选择的 存储空间1 即为 volume1 ,存储空间2 即为 volume2 这个视实际情况而定

此处获取到的全路径需要记录下来以便后续使用
编写自定义 nginx 配置文件, 本文以 dsm.conf 为例,路径为 /volume1/DSM_NginxCustomConf/conf.d/
编写方式可使用
vi,vim等命令,或者在群晖中安装文本编辑器进行编辑,也可在本地计算机编写好上传至/volume1/DSM_NginxCustomConf/conf.d/下组织 ssl 证书全路径:
ssl_certificate /volume1/DSM_NginxCustomConf/ssl_certificate/nas.xxx.com/nas.xxx.com.crt;ssl_certificate_key /volume1/DSM_NginxCustomConf/ssl_certificate/nas.xxx.com/nas.xxx.com.key;
dsm.conf 全文
server {
    listen 443 ssl;
    listen [::]:443 ssl;

    server_name nas.xxx.com;

    # 前面组织的 ssl 证书文件全路径
    ssl_certificate /volume1/DSM_NginxCustomConf/ssl_certificate/nas.xxx.com/nas.xxx.com.crt;

    ssl_certificate_key /volume1/DSM_NginxCustomConf/ssl_certificate/nas.xxx.com/nas.xxx.com.key;

    location / {

        proxy_connect_timeout 60;

        proxy_read_timeout 60;

        proxy_send_timeout 60;

        proxy_intercept_errors off;

        proxy_http_version 1.1;

        proxy_set_header        Host            $http_host;

    # 下面两行一定要添加,否则在DSM中 Virtual machine manager 连接虚拟机时提示noVNC“无法连线到伺服器”的问题
    proxy_set_header        Upgrade            $http_upgrade;
        proxy_set_header        Connection            $connection_upgrade;

        proxy_set_header        X-Real-IP            $remote_addr;

        proxy_set_header        X-Forwarded-For            $proxy_add_x_forwarded_for;

        proxy_set_header        X-Forwarded-Proto            $scheme;

        proxy_pass https://群晖内网地址:5001;

    }

    # DS Photo 配置,默认使用的是本地 80 和 443 端口,此处使用 443 端口,即 https
    location /photo {
        proxy_pass https://群晖内网地址;
    }

    error_page 403 404 500 502 503 504 @error_page;

    location @error_page {
        root /usr/syno/share/nginx;
        rewrite (.*) /error.html break;
        allow all;
    }
}
完成如上内容后此时你的目录结构应该为
-- DSM_NginxCustomConf
   -- conf.d
      -- dsm.conf
   -- ssl_certficate
      -- nas.xxx.com.crt
      -- nas.xxx.com.key
(重点) 修改 自有 Nginx (应用程序 => 反向代理服务器) 模板文件,一劳永逸,仅需修改一次,不用担心每次重启会覆盖丢失
1. SSH 登录,如果不是 root 用登录请使用 sudo -i 获取权限
2. 进入到 Nginx 配置模板 /usr/syno/share/nginx/
root@DSM:~# cd /usr/syno/share/nginx/
root@DSM:/usr/syno/share/nginx# ll
total 140
drwxr-xr-x  3 root root  4096 Jun 10 14:33 .
drwxr-xr-x 25 root root  4096 Jun  9 13:33 ..
-rw-r--r--  1 root root   637 May 12  2020 Alias_v2.mustache
-rw-r--r--  1 root root   648 May 12  2020 avahi.mustache
-rw-r--r--  1 root root   373 May 12  2020 cgi.mustache
-rw-r--r--  1 root root    47 May 12  2020 cgi.pass.mustache
drwxr-xr-x  2 root root  4096 Jun 10 14:00 conf.d
-rw-r--r--  1 root root    64 May 12  2020 deny.mustache
-rw-r--r--  1 root root   102 Jun  8 13:51 deny.PhotoStation.mustache
-rw-r--r--  1 root root   253 May 12  2020 deny.synoman.mustache
-rw-r--r--  1 root root   622 May 12  2020 DSM_Main.mustache
-rw-r--r--  1 root root  3022 May 12  2020 DSM.mustache
-rw-r--r--  1 root root 11939 May 12  2020 error.html
-rw-r--r--  1 root root   157 May 12  2020 error_page.mustache
-rw-r--r--  1 root root   291 May 12  2020 Firewall.mustache
-rw-r--r--  1 root root   164 May 12  2020 gzip.mustache
-rw-r--r--  1 root root    92 May 12  2020 HSTS.mustache
-rw-r--r--  1 root root   104 May 12  2020 LetsEncrypt.mustache
-rw-r--r--  1 root root  6867 May 12  2020 logo.jpg
-rw-r--r--  1 root root  2864 Jun 10 14:33 nginx.mustache
-rw-r--r--  1 root root   134 May 12  2020 open_file_cache.mustache
-rw-r--r--  1 root root   247 May 12  2020 optimization.mustache
-rw-r--r--  1 root root  1723 May 12  2020 Portal.mustache
-rw-r--r--  1 root root  3850 Jun 10 13:34 server.mustache
-rw-r--r--  1 root root   507 May 12  2020 SSLProfile.mustache
-rw-r--r--  1 root root  1116 May 12  2020 SynoSharing.mustache
-rw-r--r--  1 root root   613 Jun  9 13:40 WWW_Main_cancel_rewrite.mustache
-rw-r--r--  1 root root   610 Jun  9 14:06 WWW_Main.mustache
-rw-r--r--  1 root root   665 Jun  9 13:40 WWWService_cancel_rewrite.mustache
-rw-r--r--  1 root root   659 Jun  9 14:06 WWWService.mustache
-rw-r--r--  1 root root   174 May 12  2020 X-Accel.mustache
3. 备份 nginx.mustache 文件
cp nginx.mustache nginx.mustache.bak
4. 编辑 nginx.mustache 文件,增加我们自建创建的自定义配置文件路径 /volume1/DSM_NginxCustomConf/conf.d/
vim nginx.mustache
# Copyright (c) 2000-2017 Synology Inc. All rights reserved.

worker_processes        auto;
#worker_cpu_affinity    auto;
worker_rlimit_nofile    65535;

include conf.d/main.conf;

events {
    use             epoll;
    multi_accept    on;
    accept_mutex    off;
    worker_connections {{DSM.worker_connections}};

    include conf.d/events.conf;
}

http {
    include         mime.types;
    default_type    application/octet-stream;
    client_header_buffer_size 256k;

    log_format  main  '$remote_addr - $remote_user [$time_local] "$request" '
        '$status $body_bytes_sent "$http_referer" '
        '"$http_user_agent" "$http_x_forwarded_for"';

    access_log  off;
    #access_log syslog:server=unix:/dev/log,facility=local7,tag=nginx_access,nohostname main;
    error_log   syslog:server=unix:/dev/log,facility=local7,tag=nginx_error,nohostname error;

    ......
    ......
    ......
    ......
    ......

    {{> /usr/syno/share/nginx/DSM}}
    {{> /usr/syno/share/nginx/WWWService}}

    include conf.d/http.*.conf;
    include app.d/server.*.conf;
    include sites-enabled/*;

    # 下面一行为我们添加的内容
    include /volume1/DSM_NginxCustomConf/conf.d/*;
}
注意在最下面增加的一行 include /volume1/DSM_NginxCustomConf/conf.d/*; 分号一定不能缺少
其他不用调整任何东西
5. 重启 Nginx
synoservicecfg --restart nginx
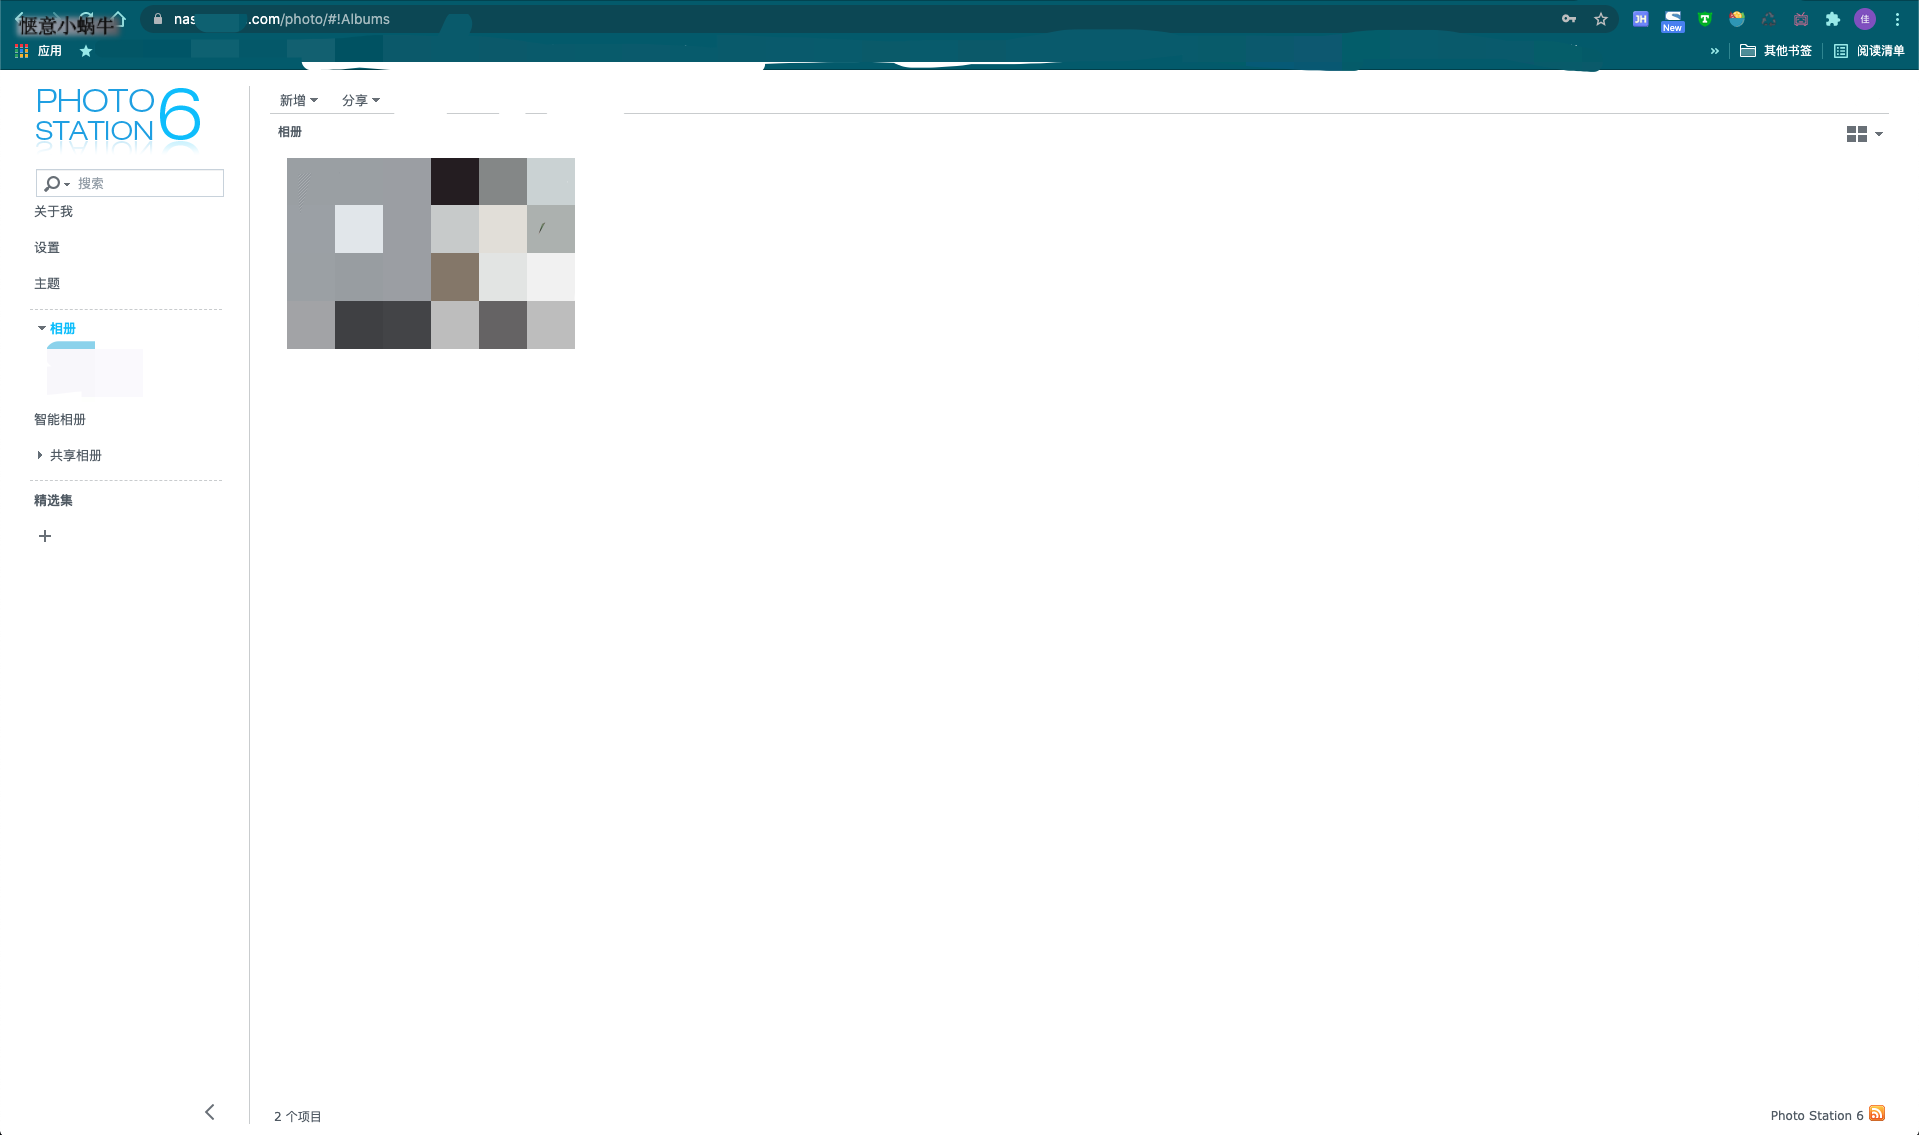
到此基本就结束了, 如果你的 DDNS 及域名解析都没有问题的话就可以正常访问 DSM 和 DS Photo 了
DSM
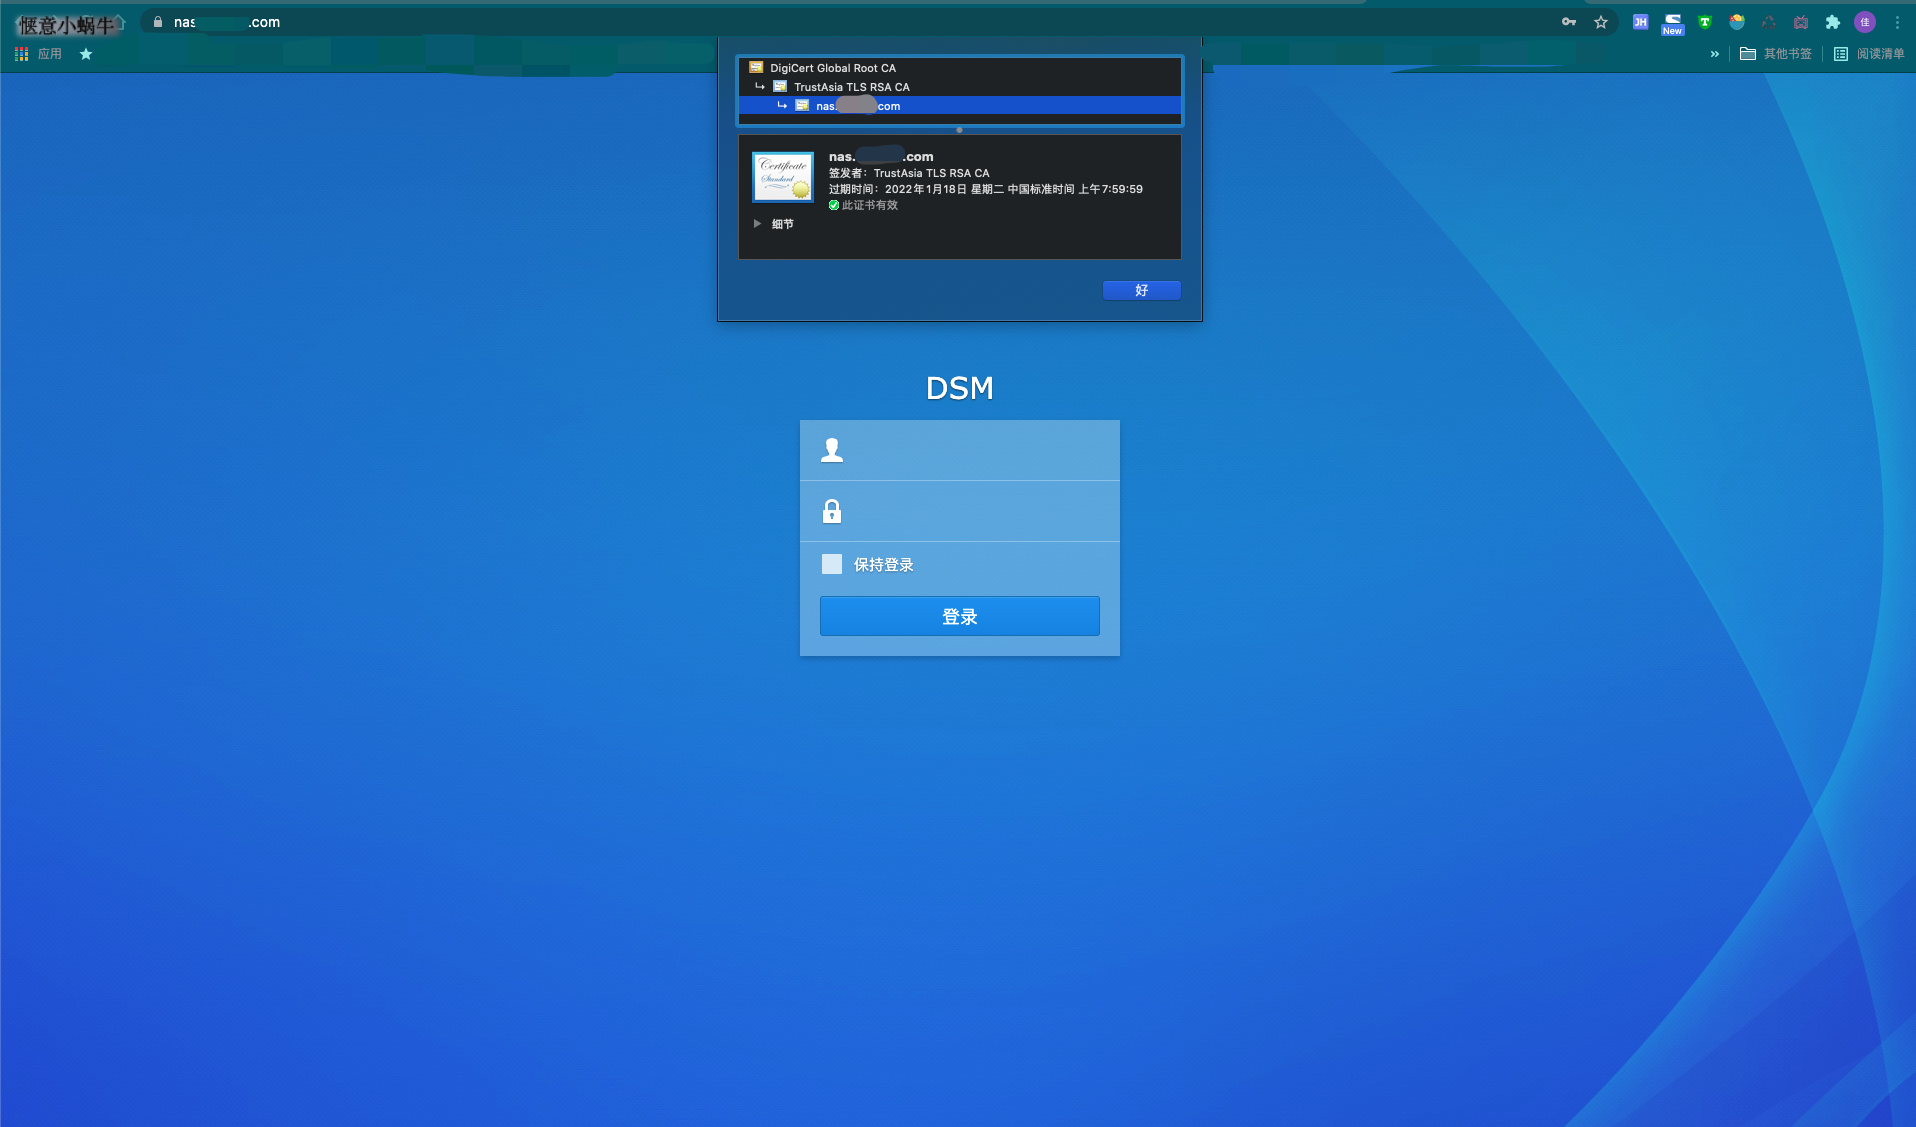
Photo Station
注意事项:
由于 DSM 和 DS Photo 的特殊性,不要在控制面板=>应用程序=>反向代理服务器中添加这个域名其他的域名可正常在
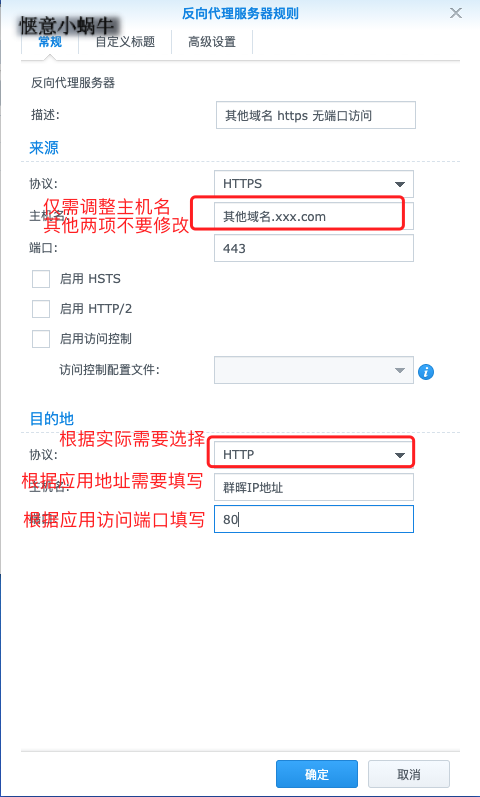
控制面板=>应用程序=>反向代理服务器配置域名直接实现 https 无端口访问即可
其他应用实现 https 无端口访问


评论区